Planning a home renovation? Follow this step-by-step guide covering needs analysis, budget, design, permits, construction and handover to avoid costly surprises.

A well-planned renovation feels calm, even when walls are coming down. A poorly planned one is full of surprises, most of them expensive. Whether you are refreshing a single apartment or completely renovating a house, the same sequence of steps applies. This guide walks you through them in the order they should happen.
Step 1: Define your needs before your style
It is tempting to start with inspiration images, but the most successful renovations start with how you live. How many people use the space? Do you work from home? Do you entertain often? Where does clutter collect today? Write down what does not work in your current home; this list becomes the brief that every design decision is measured against.
Step 2: Set a realistic budget and contingency
Split your budget into three parts: construction (demolition, plumbing, electrics, flooring, walls), fixed joinery and fittings (kitchen, wardrobes, bathrooms) and loose furniture and decoration. Then add a contingency of 10–15% for the unexpected. Older buildings in particular hide surprises behind plaster and under floors.

Step 3: Survey the existing space
Accurate measurements and a survey of existing services are essential. Knowing where structural walls, risers and drainage are located tells you what can move easily and what cannot. This is also the moment to check the condition of windows, insulation and electrical installations.
Step 4: Develop the concept and layout
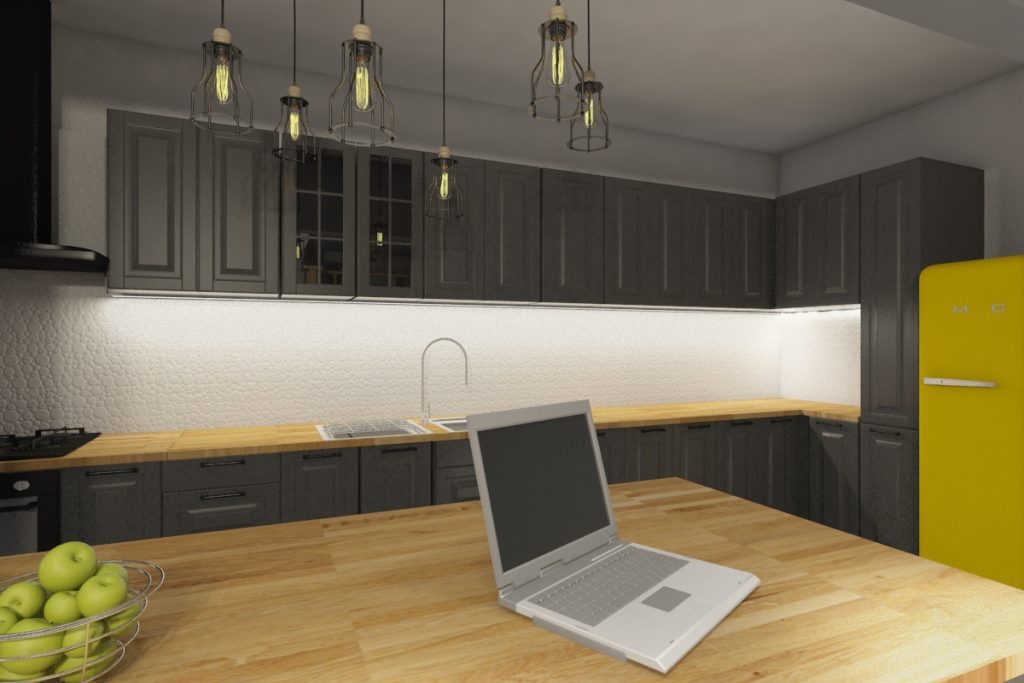
With needs, budget and survey in hand, the layout can be developed. Small changes, such as moving a door or opening a kitchen to the living room, can transform how a home feels. 3D visuals help you understand proportions and light before anything is built. In our Özkaya House renovation, rethinking the layout was the key to turning a dated apartment into a bright family home.
Step 5: Detailed design and material selection
Once the layout is approved, the detailed design defines every surface: flooring, tiles, paint, joinery, lighting and sanitary ware. Choose materials with both the look and the maintenance in mind. Samples viewed in the actual space, in daylight and at night, prevent disappointment later.

Step 6: Technical drawings, permits and tendering
Construction drawings translate the design into instructions contractors can price and build. Depending on the scope and the building, you may need permission from the building management or local authority. With complete drawings, quotes from different contractors become comparable.
Step 7: Construction and site supervision
A typical sequence is demolition, rough works (plumbing, electrics, walls), screeds and plaster, tiling and flooring, joinery installation, painting, and finally fixtures. Regular site visits keep quality under control and allow quick decisions when something unexpected appears.
Step 8: Final inspection and handover
Before you move in, walk through every room with a snagging list: doors that do not close properly, paint touch-ups, silicone joints, lighting circuits. Only sign off when everything has been fixed. Keep warranties and product information together for future maintenance.
How long does a home renovation take?
A cosmetic refresh of an apartment may take a few weeks, while a full renovation with a new layout, kitchen and bathrooms often takes three to six months, including design. Long-lead items such as custom joinery and imported materials should be ordered early so they do not delay the schedule.
Planning takes time, but it is the cheapest phase of any renovation. If you would like professional support from concept to handover, see our interior design and project management services or contact us.